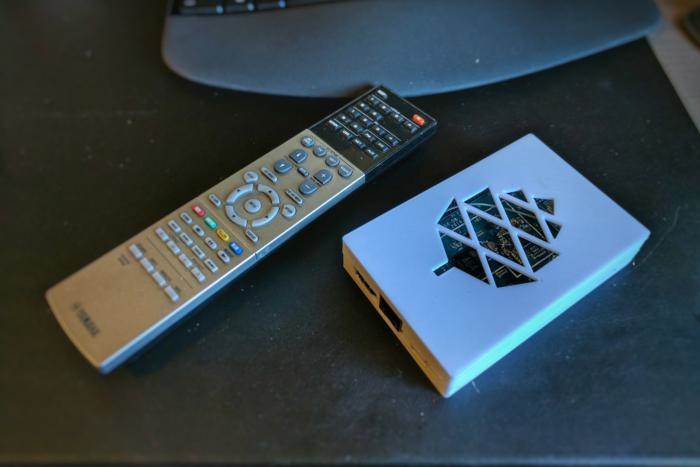
The best Android TV used to be the Nvidia Shield that can be purchased for $199, but it has been out of stock for a very long time. There is now a pro version of Nvidia Shield that’s priced at $299. Beyond these two that are out of stock, there aren’t that many official Android TV products on the market.
However, you don’t have to wait for Shields to come back into stock or go for those cheap and extremely insecure Chinese Android set-top boxes flooding Amazon.com.
I will help you build your own.
What you need:
- Pine 64 (2GB RAM version)
- 5v Power supply
- 16GB or 32GB Micro SD card
- MacOS, Windows, or Linux PC to create install media
- HDMI monitor, HDMI cable, keyboard, and mouse
- On/off switch
- Ethernet connectivity
- Some experience with soldering
Once you have all of it, download the official Android 5.x image from the Pine 64 site. You should download the image for the storage capacity of your Micro SD Card; there are images for 8GB, 16GB, and 32GB card.
Depending on your desktop operating system, you can use different tools to write the image to the card. In either case, you will have to unzip the downloaded file to extract the .img file.
Write Pine 64 image using MacOS
MacOS will automatically unzip the file when you double-click on it. Now download and install ApplePi Baker, plug in your Micro SD card to you Mac and open ApplePi Baker. In the Pi-Crust option, you will see your Micro SD card. In the Pi-Ingredients: IMG Recipe option, browse the extracted .img file and then click on the Restore Backup button which will start writing the image to the card.
Write Pine 64 image on Windows
Download and install Win32 Disk Image writer from SourceForge. Open the tool, you will see the Micro SD Card in the list of drives, then browse the extracted Android image file and write it to the Micro SD card.
Create Pine 64 image on Desktop Linux
If you are using any desktop Linux, then you can use the dd command to write the extracted image to the Micro SD card:
sudo dd if=PATH_OF_IMAGE.img of=MICRO_SD_CARD bs=1M
Example:
sudo dd if=/home/swapnil/Downloads/android-7.0-pine-a64-tv-v1.11.0-r67.img of=/dev/mmco1 bs=1M
Note: You can use the dd command on MacOS as both Linux and MacOS share the same UNIX command line tools.
Install On/Off button
You may get a complimentary on/off button with your Pine board. If you are good with soldering just solder the button on the Pine 64 board where it’s marked, “power”. A long press on the button offers system shutdown and reboot, whereas a short press turns off the display.
Boot into your Android set-top box
Now put the Micro SD Card in the Pine 64, connect the monitor/TV, keyboard and mouse and power up the device. The first boot may take a bit longer. Once you are booted into Android, use keyboard/mouse to navigate and log into your Gmail account.
Then open Google Play Store and install apps like Netflix, Hulu, HBO Now, Amazon Prime, or whatever you use for entertainment, and start using your secure Android TV set-top box. If you downloaded the official 5.x image, then you will also be receiving the OTA (over the air) updates.
Customize Android TV UI
By default, it comes with stock Android tablet UI, but you can use different launchers to customize the UI. Just search for Launcher in the Play Store.
Now it’s time to enjoy your very own Android-based set-top box.
This article is published as part of the IDG Contributor Network. Want to Join?


